In Part III of the Mustang rebuild we left off with the floor welded into the skeletal remains of our 66 Mustang coupe. I saw this as a major step forward. The body was braced, the floor was in, what could possibly go wrong?
It was time to get cutting. Recall one does not simply cut metal off the body. Each spot weld is removed as a molten glob of metal that is sloughed off the parent metal below without blowing a hole in that second panel. It’s an art that Joe tells me is difficult for about the first 15 years of practice. Suffice to say I blew a few holes in the body panels we intended on keeping. However it’s not the end of the world.
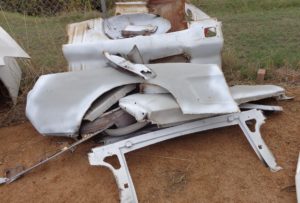
The more we cut, the higher the pile got.
Piece by piece, rusty, crumpled panels were removed from the body and thrown on the scrap heap. Throwing rusty junk metal way was a kind of cathartic experience. I anticipated, with each item that was ditched, a new piece would simply be welded in and, like some automotive phoenix, a rebuilt Mustang would emerge from the ashes. The plan was sound but unfortunately the panels not so much. It’s hard to imagine how after-market panel manufactures could get it so wrong.
Part of the explanation might be found in comparing the panels removed from the car up against the new items going in. I’ve said it before, and I’ll say it again, that this pile of rusty metal and body filler even resembled a Mustang is a remarkable tribute to whomever bashed it back into shape after what must have been some hefty collisions.
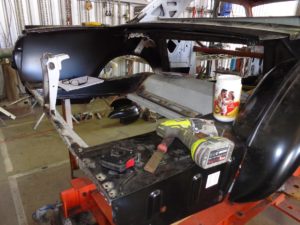
The trusty tek-screw gun came in handy!
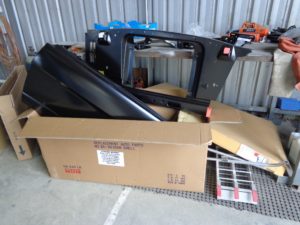
New panels waiting patiently to be fitted to the Mustang skeleton.
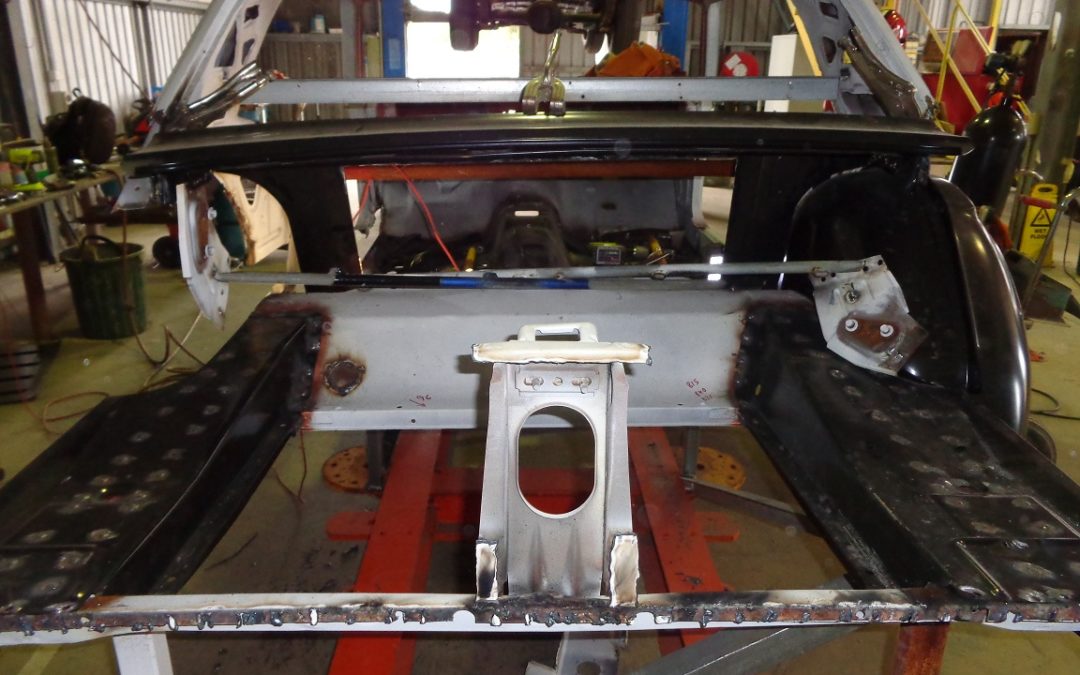
As each new panel was loosely fitted to the car my excitement would rise with the anticipation of welding the new item into place but we were a long way from welding. Joe’s trusty tek-screw gun would take the role of the welder, allowing for mock fitting of several parts well ahead of anything quite as permanent as welding.
We concentrated our early efforts around the rear of the car. Everything behind the rear passenger’s seat of the car had to be replaced. At one time during the reconstruction the rear-end was practically absent but it was slowly built up by test fitting, cutting, bending and coaxing each panel into place.
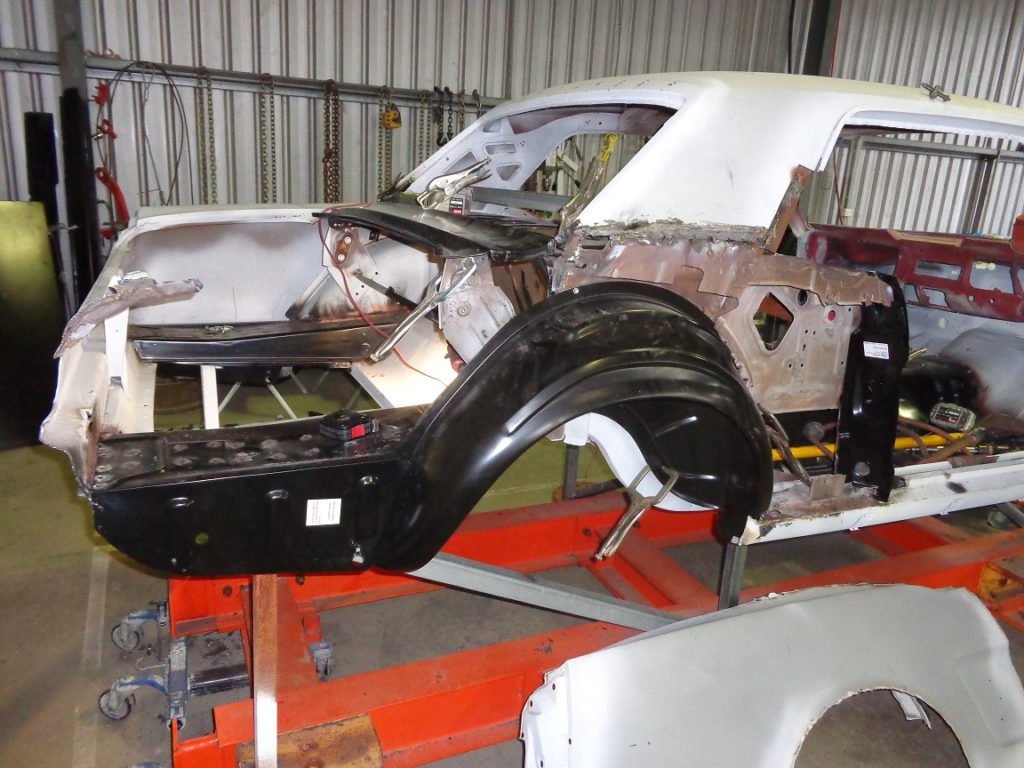
One of the major problem arears proved to be the wheel-wells. We ordered two brand new items but they had to be extensively modified before they would fit. I estimate we spent about one and a half days just getting those horrible pieces of metal into place. So bad were they, the shop that provided them actually refunded my money.
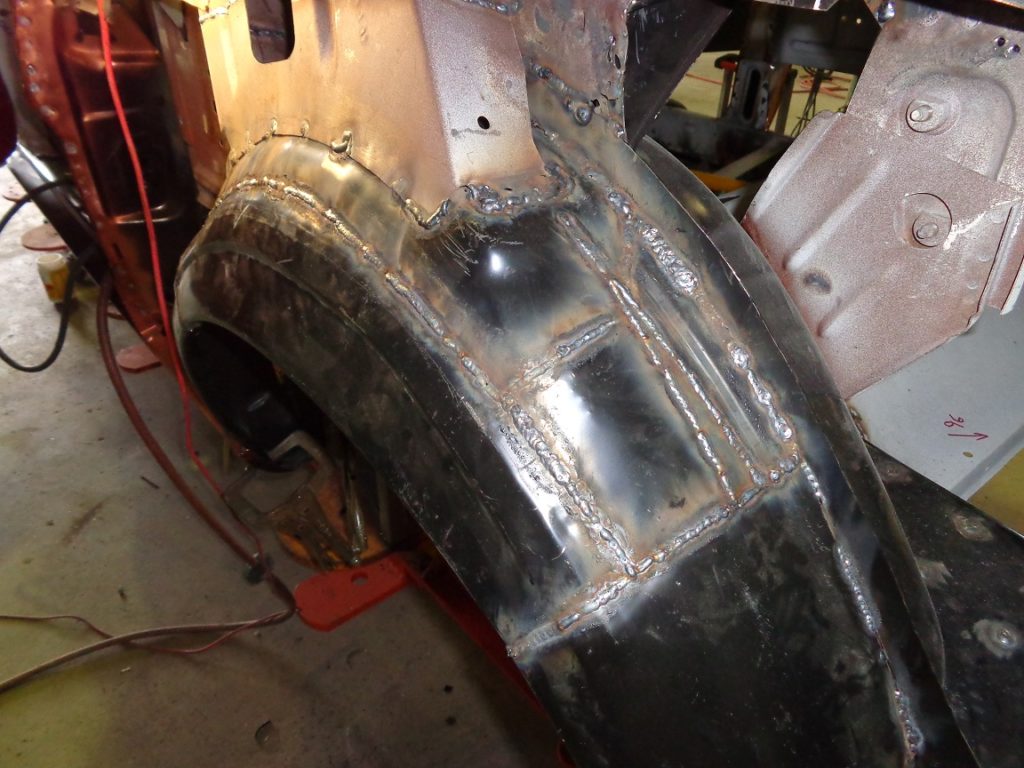
The wheel wells needed significant modification to be enticed into place.
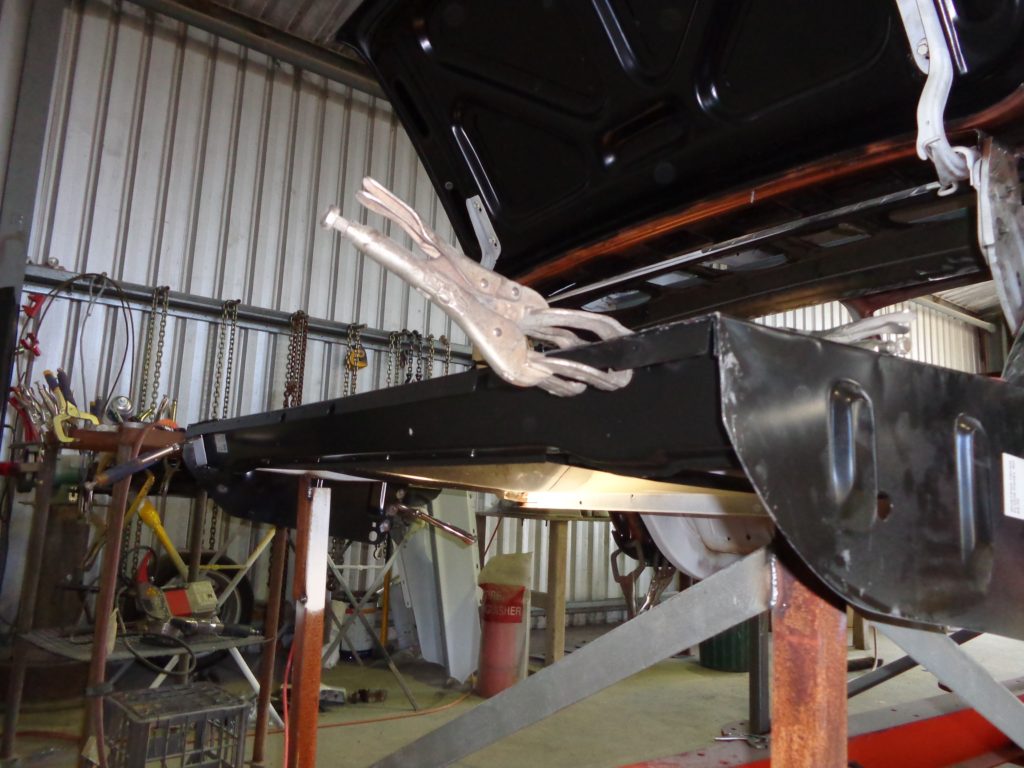
Tek screws and snap-grips came in handy to mock-fit the panels ahead of welding.
