Taking up from where we put the torch down, the Mustang had panel after panel peeled off until it has hardly recognisable. The floor was the first to go with the new single piece, front and rear, going in.
A ‘new’ floor is exactly that. Pressed from a single sheet of metal in Thailand, Mexico or Canada, most of the panels that went into the Mustang were manufactured by Dynacorn. It is actually possible to purchase a whole body from Dynacorn. Sadly, that won’t work in Australia as, apart from needing a fat cheque-book, any car built using a new body would have to pass as a current model with all the emission restrictions and safety requirements that would bring before it could be registered, unless, of course, you had a sacrificial chassis number with import approval etc. I’m sure that happens, but not in my case, my car is a piece of Aussie motoring history and I needed to retain as much of it as possible.
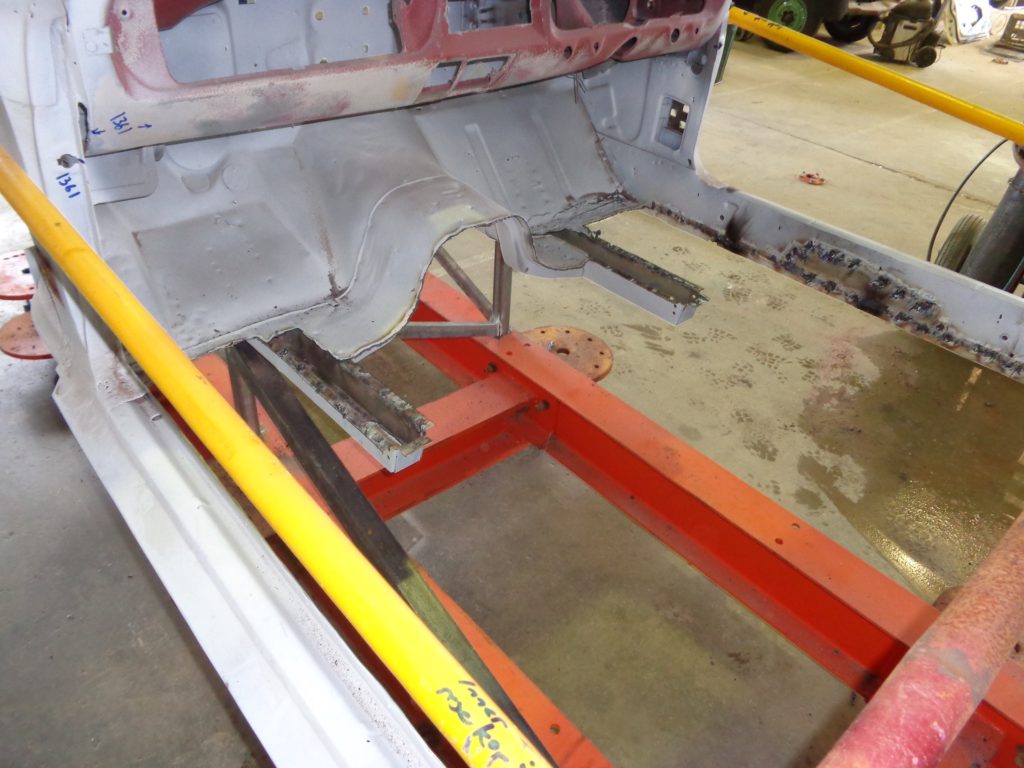
To remove the floor large portions of metal had to be cut out and tossed on the scrap heap. With the large portions removed the spot-welds can be accessed and burnt off without destroying (too much of) the metal beneath: that is, the portion we want to keep. Spot welds can be drilled out but on something as large as the floor there are dozens of the bloody things so drilling would have been labour intensive, nope, better just to blow it away.
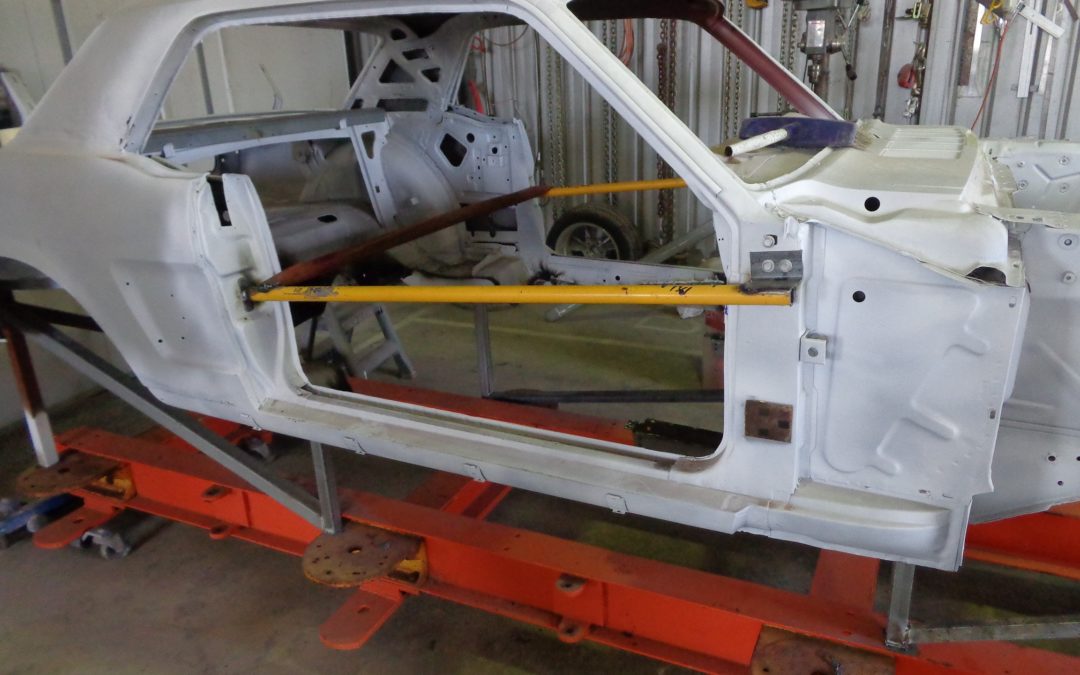
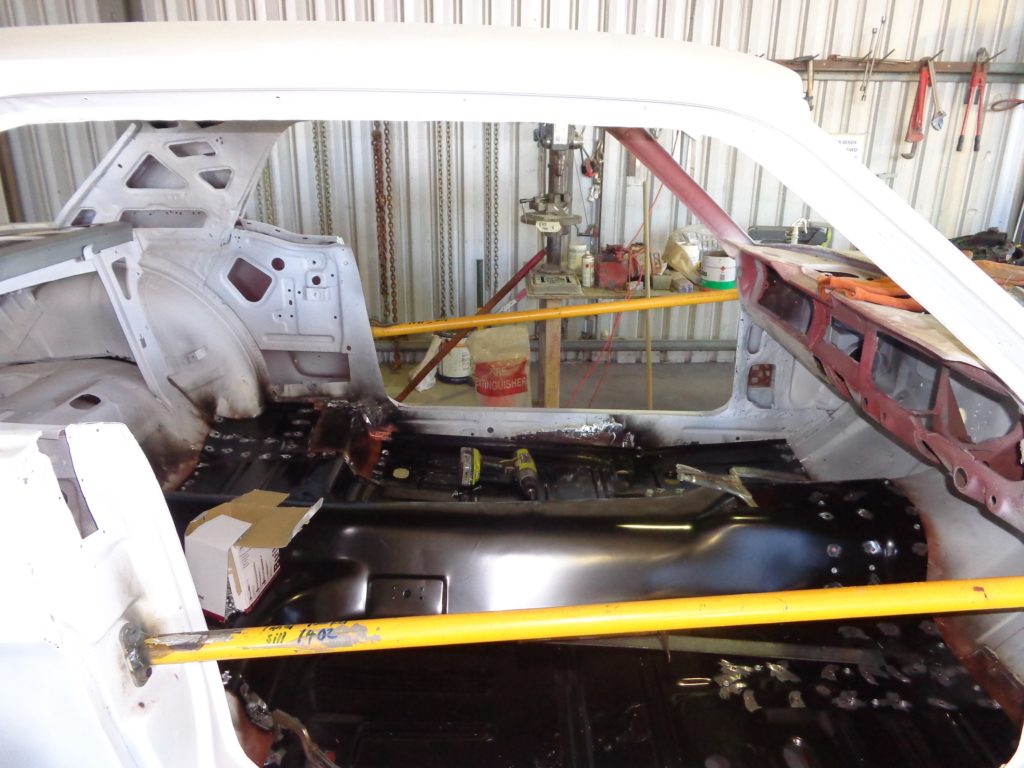
That’s a major portion of the car missing right there. Note the bracing. Without this the car would probably have collapsed.
With the metal all cleaned up, it was time to fit the new floor. Recall the body is securely braced so she won’t suffer any structural movement between the old floor being cut off and the new one going in. Further to this, we had thoroughly measured the whole body, back to front, up and down, inside and out, and recorded the measurements in both a book and on the metal.
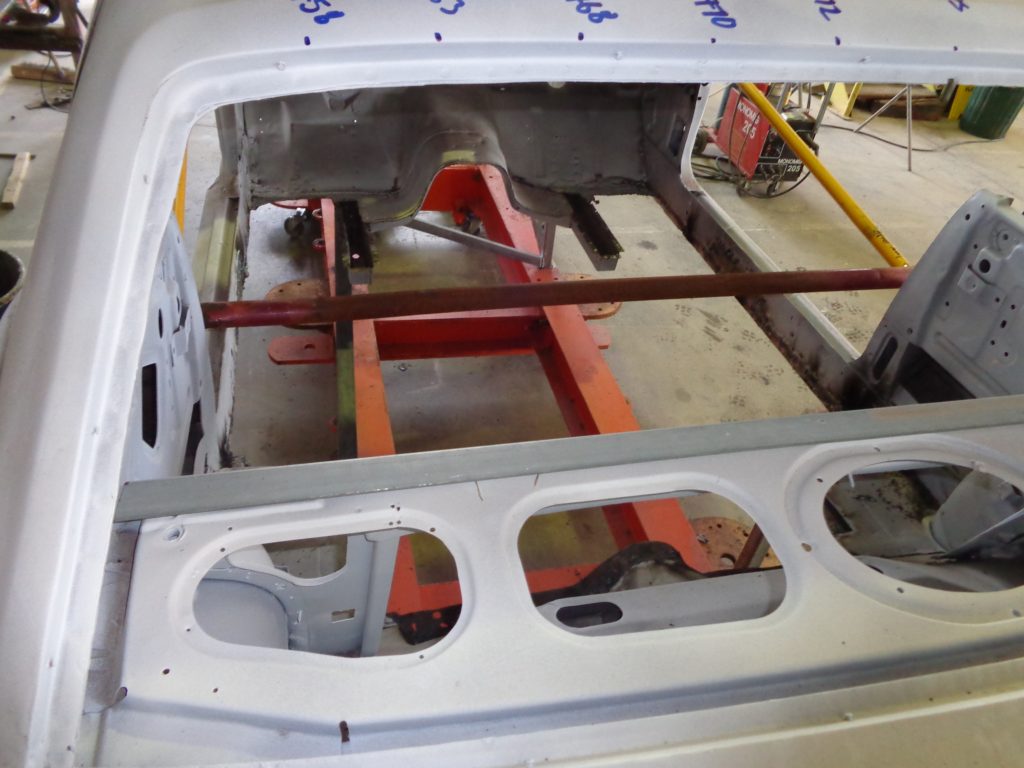
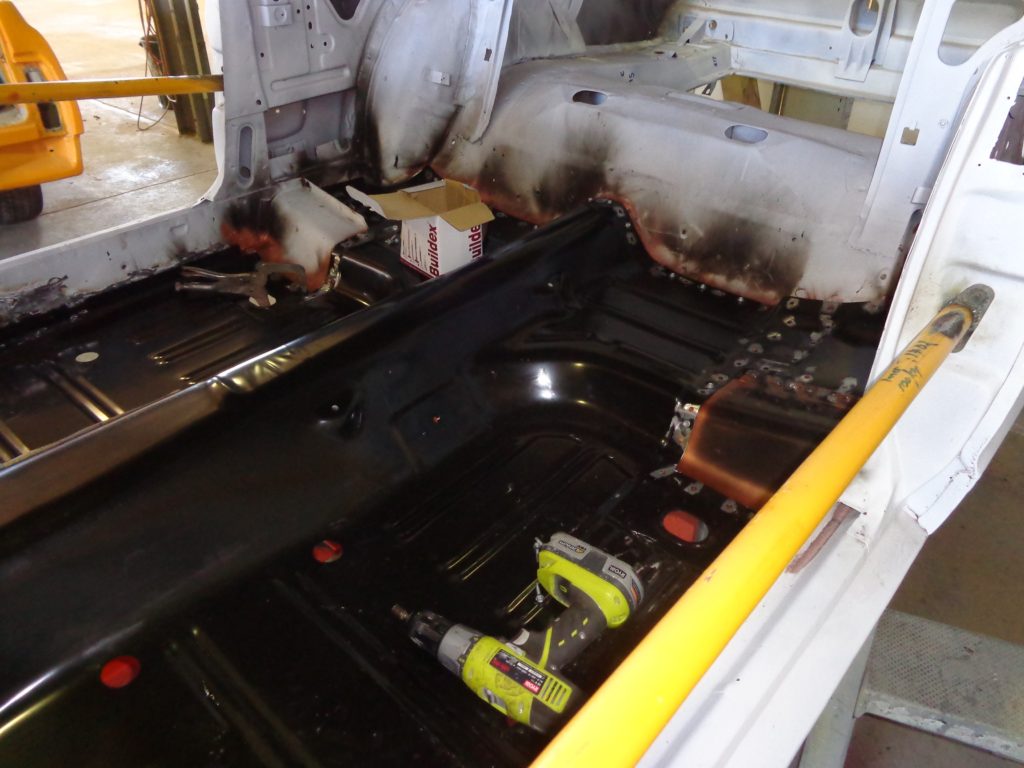
With the floor roughly in place, it was time to pummel it with tek-screws. Joe kept belting them through my precious-metal like there was no tomorrow, the underside of the car looked like a bloody porcupine! I would later come to love the simplicity of holding everything in place with the humble tek-screw, a marvellous invention.
We’re jumping ahead here but those two stubby chassis rails would later be connected to the rear pair, with two pieces of metal pressed for the purpose, adding immensely to the torsional rigidity of the body. Something Ford should have done when they built the car.
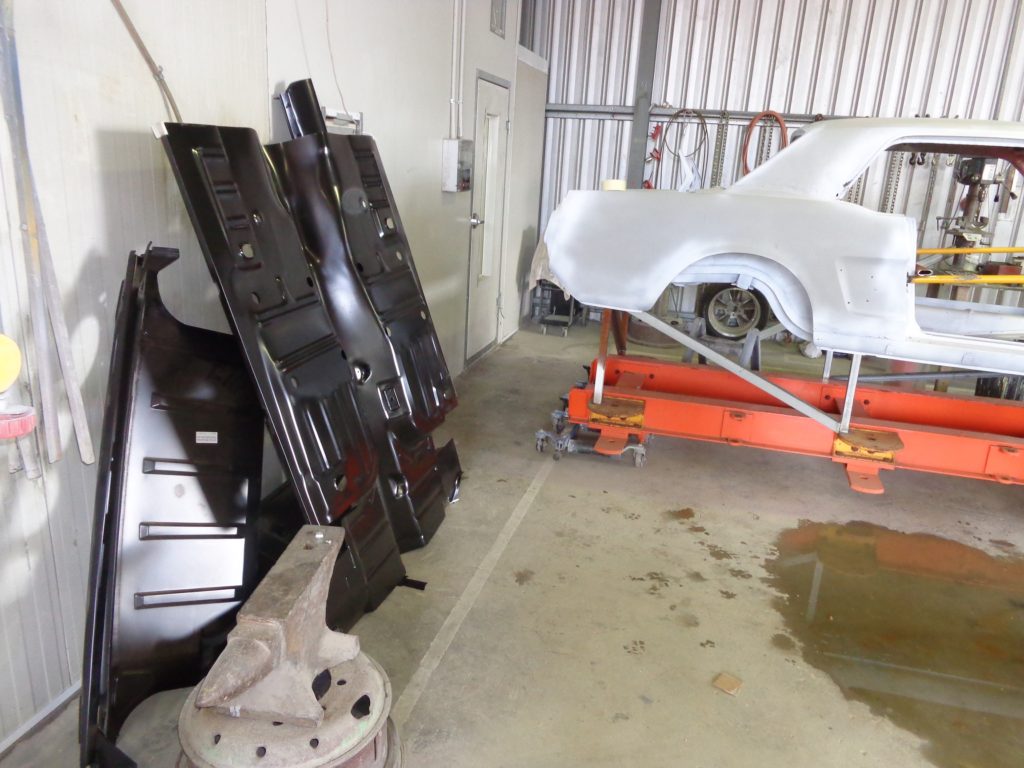
The brand new floor waiting to go in.
The new floor went in quite easily, tricking me into thinking all the new panels would similarly go together.
The new floor is held in place by tek-screws ahead of welding.
Conveniently, there was another, recently painted 1965 Mustang in Joe’s workshop waiting to be refitted. It was in a separate shed and many was the time I traipsed across to the other shed, tape measure and notebook in hand, to measure and record the dimensions of the ‘65 couple, which is essentially the same body as my ‘66.
I used to look at the finished ’65 and marvel at the lush silver paintwork dreaming of the day mine would look that good again. In time it would, but we had a lot of work ahead of us.
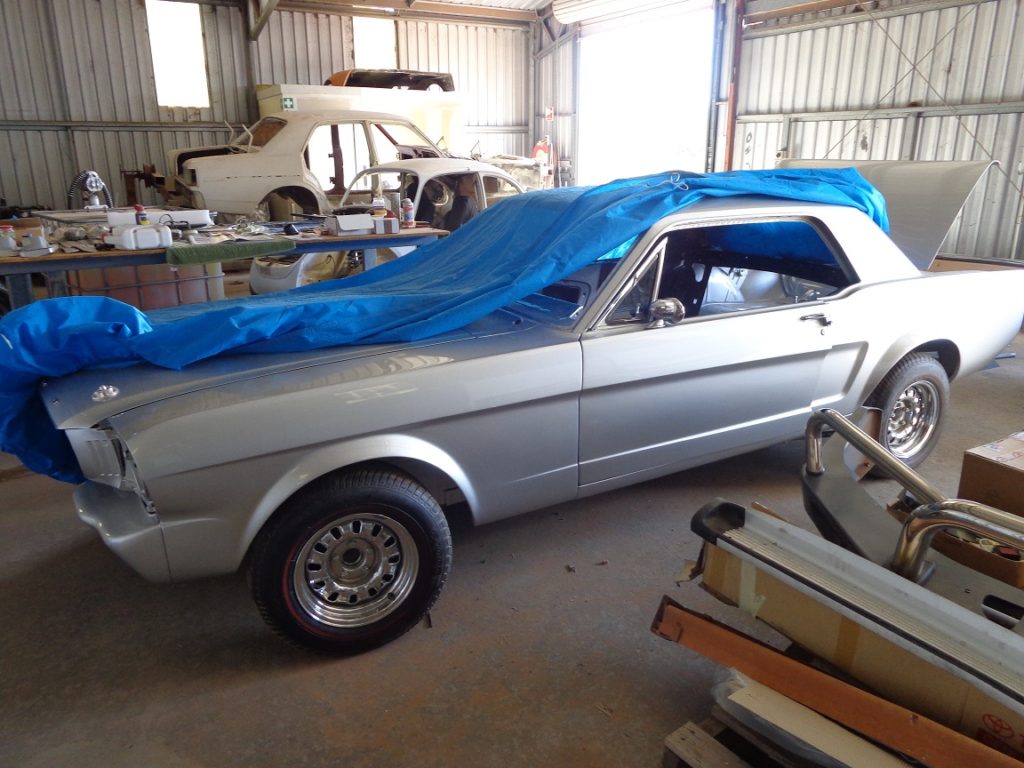
Always have access to another car for reference purposes.
What we’ve learnt
- Said before and repeated here, brace the car!
- Measure, remeasure and measure again.
- One cannot make too many recordings of the body dimensions.
- Tek-screws are your friend.
- Finally, have another, intact, car nearby for reference purposes.